Nutrition Facts
Serving Size 24
- Amount Per Serving
- Calories 6kcal

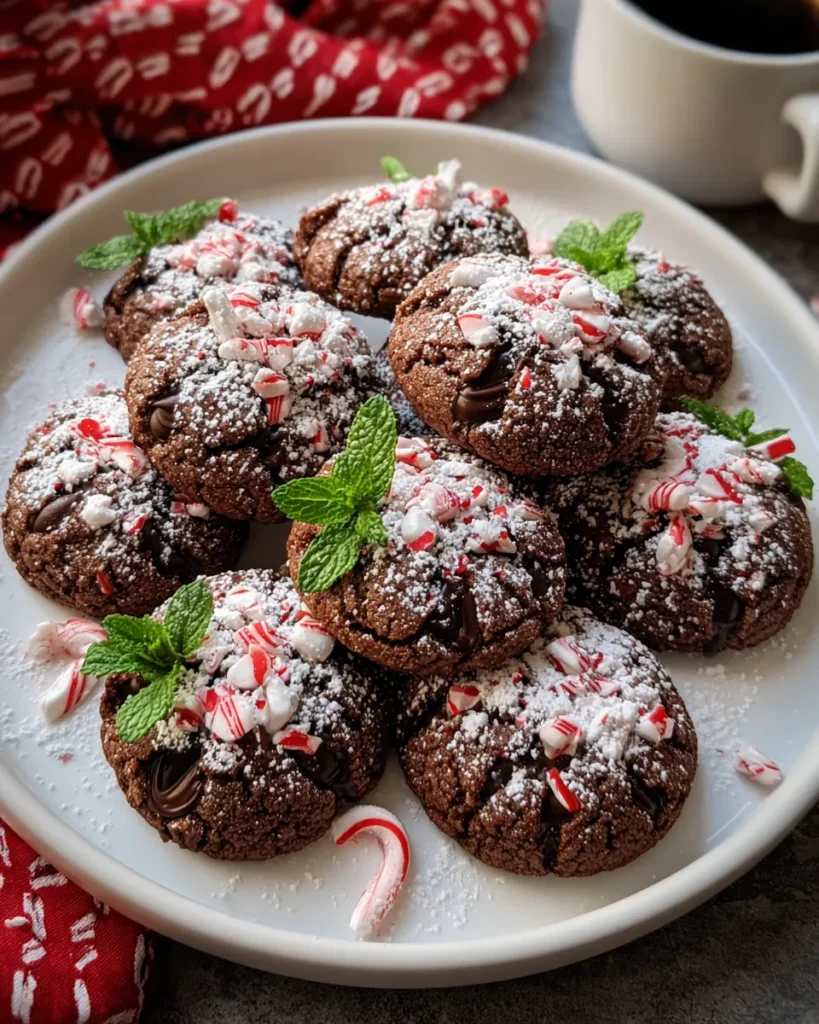
There is something undeniably magical about the combination of rich chocolate and cool peppermint during the winter season. These Chocolate Peppermint Blossoms are my absolute go-to when I need a festive treat that looks impressive but is actually incredibly simple to pull together. The contrast between the fudgy, soft cookie base and the snap of the candy center brings instant holiday cheer to any kitchen. Whether you are baking for a cookie swap or just craving a cozy night in, I promise this recipe will become a permanent fixture in your holiday baking rotation.
Let's gather everything we need. This recipe relies on pantry staples to create that rich cocoa dough, combined with specific holiday candies to create the signature look and flavor we are aiming for.
Making these cookies is a breeze, even for beginners. The process involves creating a simple chocolate dough, rolling it in sugar for that snowy look, and timing the placement of the candy just right. The most critical part is pressing the kiss in after baking so it keeps its shape while slightly melting into the warm base.
1. Preheat your oven to 350°F (175°C) and line a baking sheet with parchment paper to ensure your cookies don't stick.
2. In a medium bowl, whisk together the all-purpose flour, cocoa powder, baking soda, and salt until uniform, then set aside.
3. In a large mixing bowl, cream together the softened butter and granulated sugar until the mixture is light and fluffy, which usually takes about 2-3 minutes.
4. Beat in the egg and peppermint extract, mixing until everything is well combined and smooth.
5. Gradually add the dry ingredients to the wet ingredients, mixing on low speed until just combined; be careful do not overmix or the cookies may become tough.
6. Using a tablespoon or cookie scoop, form the dough into balls about 1 inch in diameter to ensure even baking.
7. Roll each ball in powdered sugar until fully coated and then place them on the prepared baking sheet, spacing them about 2 inches apart to allow for spreading.
8. Bake in the preheated oven for 8-10 minutes, or until the cookies are set but still look soft.
9. Immediately after removing from the oven, gently press one chocolate peppermint candy into the center of each cookie while they are hot.
10. Allow the cookies to cool on the baking sheet for 5 minutes to set before transferring them to a wire rack to cool completely.
These cookies look so beautiful on a platter that they barely need any help, but presenting them the right way can elevate your holiday spread. The mix of dark chocolate and bright stripes makes them a visual treat. Whether you are hosting a formal dinner or a casual family movie night, here are a few fun ways to serve these up.
I want to make sure your batch turns out absolutely flawless on the first try. Baking is a science, but it is also an art where a few small adjustments can make a huge difference. These little insights will help you customize the flavor profile to your liking and ensure you get that perfect chewy texture every time. Here is what you need to keep in mind while baking.
If you manage not to eat the entire batch in one sitting (which is a real challenge in my house), you will want to keep them tasting fresh. Proper storage ensures the cookie base stays soft and the chocolate candy retains its snap. Here is how to keep your blossoms in peak condition.
I know questions pop up when you are in the thick of baking, so here are some quick answers to common queries to keep you moving!
A: According to the recipe notes, these cookies can be stored in an airtight container for up to a week. They are also suitable for making ahead of time for holiday gatherings.
A: You should gently press one unwrapped chocolate peppermint candy into the center of each cookie immediately after removing the baking sheet from the oven. Do not bake the cookies with the candy on top; they are added during the cooling process.
A: Yes, the recipe notes suggest several variations. You can adjust the amount of peppermint extract to suit your taste, swap the chocolate candies for white chocolate peppermint candies, or even add crushed candy canes to the dough for extra crunch and flavor.
A: You should bake the cookies in a preheated oven at 350°F (175°C) for 8 to 10 minutes. The cookies are done when they appear set but are still soft to the touch.
A: After whisking the dry ingredients and creaming the wet ingredients separately, you should gradually add the dry mixture to the wet mixture. Mix on low speed until just combined, being careful not to overmix the dough.
These Chocolate Peppermint Blossoms are a true holiday hero because they combine that fudgy, brownie like base with the festive crunch we all crave in December. Why this recipe works is simple: it balances rich cocoa with bright mint so perfectly that even Santa might skip the milk just to have a second cookie. I really hope you give these crinkled beauties a try! Feel free to print this page or save it to your Pinterest board so you don't lose it in the holiday chaos. If you do whip up a batch, please drop a comment below and let me know how they turned out or if you managed to save any for your guests. I would love to hear from you!
Rich cocoa dough offers a soft, chewy bite that pairs perfectly with the crunch of a peppermint kiss. These crinkled beauties bring a touch of snowy magic to your baking rotation.
Serving Size 24

Hey there! I’m Noah Blake, and welcome to RecipesDive.com — a blog for anyone who’s ready to dive headfirst into real cooking without the intimidation.