Nutrition Facts
Serving Size 16
- Amount Per Serving
- Calories 15kcal

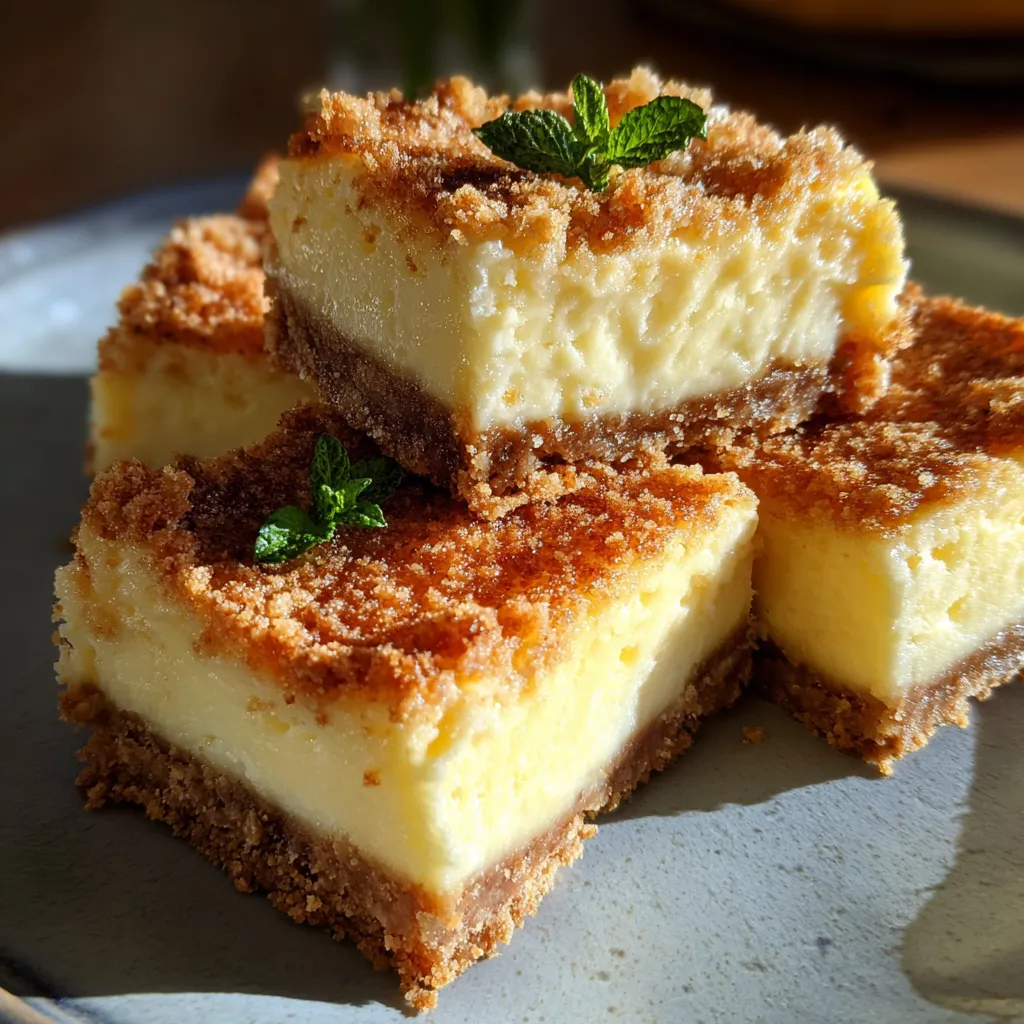
With their delightfully crisp gluten-free graham cracker crust and a velvety, tangy cheesecake filling, these Gluten-Free Cheesecake Bars are about to become your new favorite dessert. Each bite offers a perfect balance of creamy richness brightened by a hint of lemon, making this treat irresistible whether you’re entertaining friends or indulging in a quiet moment at home. Ready to dive in? Let’s get baking!
Here’s what you’ll need to build the layers of these bars: a sturdy, buttery crust and a creamy cheesecake topping that’s bursting with flavor.
Baking these bars is straightforward: start with a simple crust, prepare a smooth cheesecake batter, and bake until the edges are set with a slight jiggle at the center. Follow these steps to ensure every bar comes out perfect and uniform.
1. Preheat the oven to 325°F and line an 8-inch square baking pan with parchment paper to prevent sticking.
2. In a medium bowl, combine the gluten-free graham cracker crumbs, 1/4 cup granulated sugar, salt, and melted butter, stirring until the mixture is evenly moistened and clumps together.
3. Press the crumb mixture firmly into the bottom of the prepared pan, ensuring an even layer, then bake for 10 minutes. Remove from the oven and let it cool slightly before adding the filling.
4. In a large bowl, beat the softened cream cheese and 2/3 cup granulated sugar on medium speed until smooth and creamy, scraping down the sides as needed.
5. Add the eggs one at a time, beating well after each addition to maintain a lump-free batter and proper incorporation.
6. Stir in the vanilla extract, sour cream, and lemon juice until just combined, avoiding overmixing to keep the batter light.
7. Pour the cheesecake filling over the cooled crust and use a spatula to spread it into an even layer, smoothing the top.
8. Bake for 30 to 35 minutes, or until the edges look set and the center still jiggles slightly when you gently shake the pan.
9. Allow the bars to cool to room temperature, then refrigerate for at least 3 hours to help them fully set before slicing.
These cheesecake bars are delicious on their own, but a few simple touches can elevate the presentation and taste even further. Whether you’re serving them at a party or enjoying a quiet treat at home, try one of these ideas to make each bite feel extra special.
Making perfect cheesecake bars every single time is easier than you think. By paying attention to ingredient temperatures, chilling times, and selecting the right cream cheese, you’ll guarantee a smooth, crack-free top and clean slices that impress every guest.
Proper storage is key to preserving the flavor and texture of these cheesecake bars. With the right method, you can keep them tasting fresh and creamy for days or even enjoy them months later if you decide to freeze.
Here are answers to common questions that help you master these cheesecake bars with confidence.
After combining the gluten-free graham cracker crumbs with sugar, salt, and melted butter, press the mixture very firmly and evenly into the bottom of the parchment-lined pan. Baking the crust for 10 minutes before adding the filling helps set it, so allow it to cool slightly before pouring in the batter. Using the full amount of butter and applying steady pressure when pressing the crumbs ensures a crust that holds together when you slice.
Room-temperature cream cheese, eggs, and sour cream blend more smoothly, preventing lumps and creating a velvety batter. Cold cream cheese can lead to uneven mixing, while cold eggs may slow down incorporation and create tiny pockets of unmixed ingredients. Letting everything sit at room temperature for about 30 minutes before starting guarantees a consistent, creamy filling.
The edges should look set and may have a slight golden tint, while the center retains a gentle jiggle when you gently shake the pan. Overbaking will cause cracks and a dry texture, whereas underbaking will leave the filling too loose. Aim for about 30 to 35 minutes in the oven at 325°F, then rely on the jiggle-test rather than strictly on time.
Refrigerate the bars for at least three hours or even overnight to fully firm up the filling. When you’re ready to serve, warm a sharp knife under hot water, wipe it dry, and make each cut in a single smooth motion. Reheating the knife between slices and wiping off any residue will prevent jagged edges and ensure pristine portions.
Yes, you can freeze the bars for up to one month. Once fully chilled, cut them into individual portions, wrap each piece tightly in plastic wrap, and place them in a freezer-safe container. To thaw, transfer the wrapped bars to the refrigerator and let them sit for several hours or overnight. This gentle thaw preserves texture and flavor without condensation forming on the surface.
For a dairy-free version, replace the cream cheese and sour cream with plant-based alternatives such as vegan cream cheese and coconut yogurt, adjusting sweetness as needed. You can swap lemon juice for orange or lime for a citrus twist, or fold in a quarter cup of fruit puree to the filling. For the crust, almond or oat flour with a touch of coconut oil can replace graham crumbs while keeping the recipe gluten-free.
These Gluten-Free Cheesecake Bars stand out because they blend a buttery, crisp crust with a lusciously smooth filling, all without any gluten. The vibrant hint of lemon cuts through the richness, making each slice delightfully balanced. Once you taste how simple ingredients transform into dessert magic, you’ll want to print this recipe and stash it in your binder for easy access. Don’t hesitate to leave a comment or question below—your feedback helps everyone perfect these bars!
Enjoy every creamy bite of these gluten-free cheesecake bars, featuring a perfectly crisp graham cracker crust and a smooth, zesty filling brightened with lemon and sour cream.
Serving Size 16

Hey there! I’m Noah Blake, and welcome to RecipesDive.com — a blog for anyone who’s ready to dive headfirst into real cooking without the intimidation.