Nutrition Facts
Serving Size 12
- Amount Per Serving
- Calories 29kcal

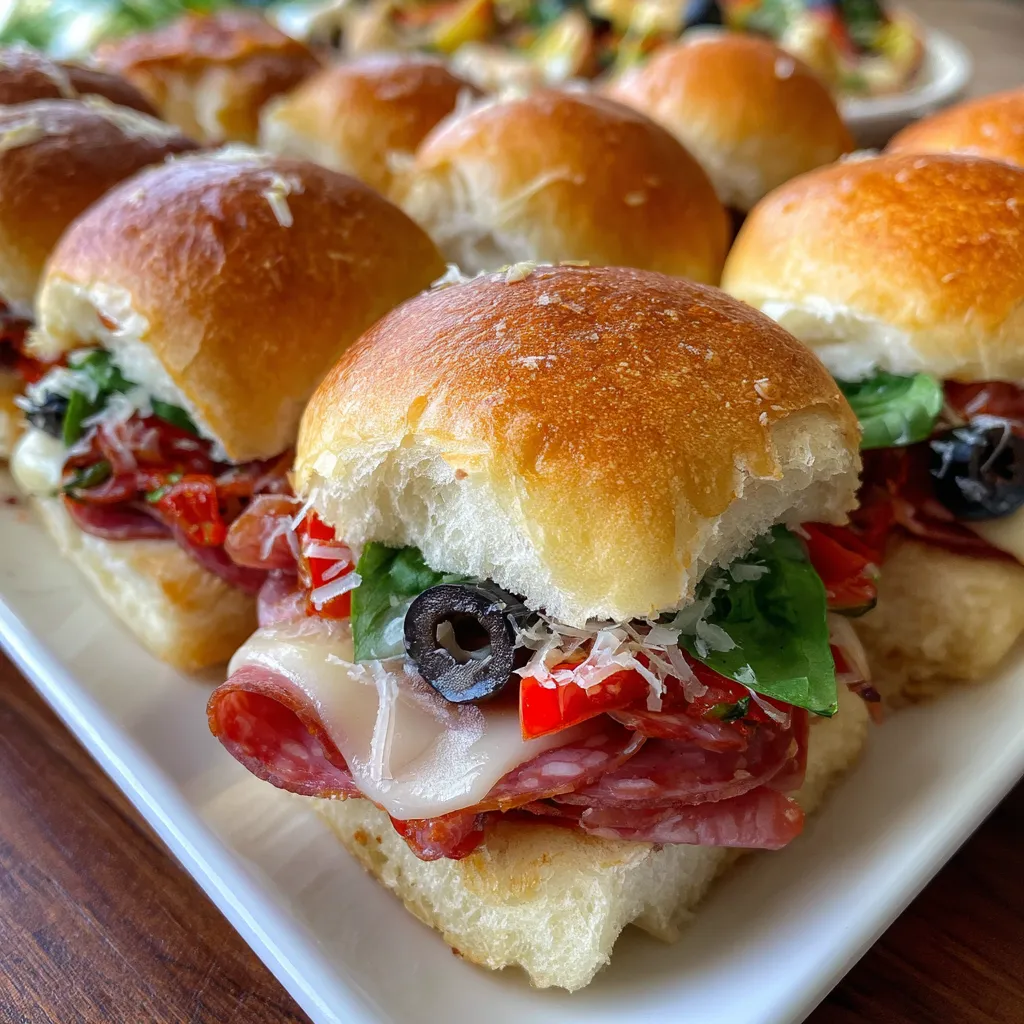
If you’re craving a handheld delight that brings together spicy Italian meats, melty cheese, and tangy peppers all nestled in a perfectly toasted roll, these Hot Italian Sub Sliders are calling your name. They’re quick to assemble, easy to bake, and guaranteed to make any gathering taste like a party. Trust me, once you take that first warm, savory bite, you’ll wonder how you ever lived without these little flavor bombs. Let’s dive in and turn your next lunch or game day into a celebration of all things Italian!
Gathering everything you need is a breeze—each element layers flavor and texture for a sensational bite every time.
These sliders come together in just a few steps, letting you build layers of flavor before popping everything in the oven. From mixing the tangy spread to wrapping and baking, each phase is straightforward—perfect for busy cooks or beginner chefs craving a crowd-pleasing, fuss-free appetizer or lunch.
1. Preheat your oven to 375°F (190°C) so it’s ready when your sliders are assembled.
2. Slice the slider rolls in half horizontally, keeping each top and bottom connected like a book.
3. In a small bowl, whisk together the mayonnaise, Italian dressing, Dijon mustard, garlic powder, and crushed red pepper flakes (if using) until smooth.
4. Spread a generous layer of the mayo mixture evenly on the cut side of the bottom half of the rolls to build flavor right at the base.
5. Layer the Italian deli meats over the mayo-slathered bottom bun, distributing salami, pepperoni, and ham in an even bed.
6. Add the provolone cheese slices on top of the meats, covering the surface for maximum melt.
7. Arrange the roasted red peppers, black olives, and banana peppers in a single layer atop the cheese for colorful texture.
8. Sprinkle the grated Parmesan cheese over the peppers for an extra hit of savory richness.
9. Place the top halves of the slider rolls back onto the fillings, pressing gently to hold everything together.
10. Brush the tops with a light coating of olive oil to promote browning and add a hint of fruity flavor.
11. Wrap the entire tray of sliders tightly in aluminum foil to trap steam and keep the rolls soft.
12. Bake on a sheet pan in your preheated oven for 15–20 minutes, or until the cheese is fully melted and the sliders are heated through.
13. Remove the foil and return to the oven for 5 more minutes to crisp and lightly brown the tops.
14. Take out the sliders and let them rest for a minute—this helps the cheese set slightly for cleaner slices.
15. Slice into individual sliders, garnish with fresh basil leaves if desired, and serve warm for maximum melty goodness.
Once your sliders are hot and ready, these pairings will make every bite even more memorable:
Keep these pointers in mind to elevate your sliders from great to unforgettable. They’re designed to help you customize, prep ahead, and add that extra flair.
Whether you’re feeding a crowd or just craving a hearty lunch, these tips make assembly and flavor customization a breeze.
Leftovers can be just as tasty, as long as you store them properly. Here’s how to keep your slider spread fresh and ready for round two:
Here are quick answers to common questions about these sliders:
You’ll spend about 10–15 minutes assembling the sliders—slicing rolls, mixing the spread, and layering meats, cheese, and peppers—then bake them in a preheated 375°F oven for 15–20 minutes covered, plus an additional 5 minutes uncovered for browning. In total, plan on around 35–40 minutes from start to finish.
Yes. Prepare the sliders up to the point of wrapping in foil, then refrigerate for up to 24 hours. When you’re ready to serve, preheat the oven and bake as directed. You may need to add a couple of extra minutes if the sliders are very cold.
Feel free to swap Italian deli meats with capicola, mortadella, or prosciutto. You can replace provolone with mozzarella or fontina, and use pepperoncini if you don’t have banana peppers. If you’re out of roasted red peppers, jarred marinated peppers or sun-dried tomatoes also add great flavor.
Spread the mayo-dressing mixture in a thin, even layer and avoid drenching the bottom half. Brushing the cut side of the rolls lightly with olive oil before assembly creates a moisture barrier. Wrapping the sliders tightly in foil during baking also keeps steam in without making the bread too wet.
Place cooled leftovers in an airtight container or wrap tightly in plastic wrap and foil. Store in the refrigerator for up to 2 days. To reheat, unwrap and heat in a 350°F oven for about 10 minutes, covered with foil. Uncover for the last 2–3 minutes to restore the crisp top.
Stir extra crushed red pepper flakes into the mayo mixture or layer on hot giardiniera. You can also swap part of the provolone for pepper jack or add sliced jalapeños to the filling for an extra kick.
Yes. Assemble and wrap the sliders in foil, then place them in a freezer-safe bag or container. Freeze for up to one month. When ready to bake, keep them wrapped and add about 5–10 minutes to the covered baking time at 375°F, then uncover and brown for an additional 5 minutes.
What truly sets these Hot Italian Sub Sliders apart is how effortlessly they layer heat, tang, and melty cheese into a perfect party-ready bite. From the Dijon-mayo kick to the roasted peppers and peppery meats, every component shines without stealing the show. They’re beginner-friendly, customizable, and ideal for printing and saving—your future game days, potlucks, or casual lunches just found their superstar. Give them a try, then let me know how they went: drop a comment, share a tweak, or ask any questions if you need a hand perfecting your slider game!
Spicy salami meets melty provolone and tangy peppers in these warm, golden mini-subs. A zesty Dijon-mayo blend and crispy rolls create a mouthwatering, handheld treat that's ready for game day or any gathering.
Serving Size 12

Hey there! I’m Noah Blake, and welcome to RecipesDive.com — a blog for anyone who’s ready to dive headfirst into real cooking without the intimidation.