Nutrition Facts
Serving Size 16
- Amount Per Serving
- Calories 14kcal

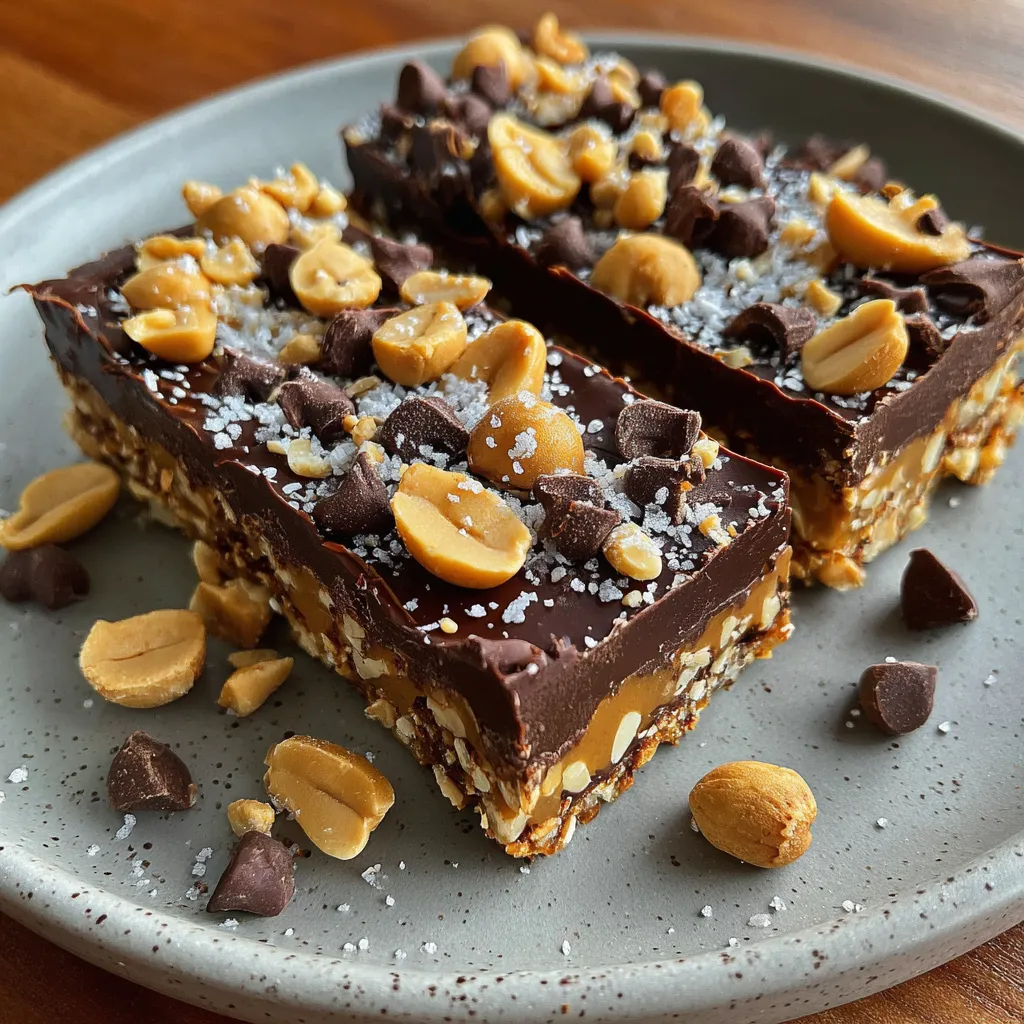
Indulgent No-Bake Chocolate Peanut Buster Bar is the ultimate treat for anyone who loves the perfect marriage of creamy peanut butter, crunchy peanuts, and a glossy chocolate topping—all without turning on the oven. Layers of sweet graham cracker crumbs and smooth peanut butter form a satisfying base, while a shiny chocolate layer seals in every bite. Ready in just minutes of prep and a couple hours of chilling, these bars deliver an irresistible combination of textures and flavors that will vanish from your fridge before you know it. Grab your spatula and let’s dive into this no-bake delight!
Before you start assembling these bars, let’s gather your pantry essentials. Each ingredient plays a crucial role in creating that creamy, crunchy, and chocolatey harmony.
Bringing together these simple ingredients is a breeze—you’ll create a sturdy peanut butter base, melt a luscious chocolate topping, and then let your bars chill until firm. The key is gentle heat for melting, thorough mixing for an even base, and a quick fridge session to set everything perfectly. Follow the steps below to ensure each layer turns out just right and yields clean-cut, decadent bars every time.
1. Line an 8x8 inch (20x20 cm) pan with parchment paper, leaving an overhang on two sides for easy removal of the bars later.
2. In a medium saucepan over low heat, combine unsalted butter and 120 g creamy peanut butter. Stir continuously until both are fully melted and the mixture is smooth.
3. Remove the saucepan from heat. Add graham cracker crumbs, powdered sugar, chopped roasted peanuts, and a pinch of salt, then stir until all ingredients are evenly combined.
4. Press the peanut butter mixture firmly into the prepared pan, using the back of a spatula or a flat-bottomed glass to create an even base layer.
5. Place semisweet chocolate chips, 2 tbsp creamy peanut butter, and 1 tsp vegetable oil in a heatproof bowl. Melt over simmering water (double boiler) or in short microwave bursts, stirring until the chocolate is glossy and smooth.
6. Pour the melted chocolate over the peanut base and use a spatula to spread it evenly into a uniform layer.
7. Refrigerate the pan for at least 2 hours (or until completely firm) to allow both layers to set properly.
8. Use the parchment paper overhang to lift the set mixture from the pan. Place on a cutting board and cut into squares with a sharp knife.
Once your bars are set and sliced, it’s time to serve them up in style. Whether you’re hosting a gathering or indulging solo, these ideas will elevate every bite.
Perfecting these bars is all about attention to detail and a few savvy tweaks. Here are some friendly tips to ensure your bars come out flawless and irresistibly delicious every time.
These no-bake bars stay delicious when stored properly, making them a convenient treat to prep ahead or gift to friends. Keep them cool, airtight, and layered correctly to preserve texture and flavor.
Got questions? Here are quick answers to help you nail this recipe every time.
It takes about 15 minutes to prepare the base and melt the chocolate topping, plus at least 2 hours of refrigeration to ensure the bars are completely firm before slicing.
Yes, you can substitute crunchy peanut butter in both the base layer and the topping without altering the recipe’s proportions; your bars will have extra peanut bits for added texture.
Chocolate can seize if it overheats or comes into contact with moisture. To prevent this, melt the semisweet chocolate chips with peanut butter and vegetable oil over simmering water (double boiler) or in short microwave bursts, stirring gently until smooth and ensuring no steam or water droplets enter the mixture.
After combining the melted butter and peanut butter with graham cracker crumbs, powdered sugar, chopped roasted peanuts, and salt, press the mixture very firmly and evenly into the lined pan. This compaction ensures a solid crust that remains tender when bitten.
Allow the chilled bars to sit at room temperature for about 5 minutes to soften slightly. Then use a sharp knife warmed under hot water and wiped dry before each cut; this helps achieve smooth, crack-free edges.
Store the bars in an airtight container in the refrigerator for up to one week. For longer storage, freeze individual squares in a single layer separated by parchment paper for up to one month, then thaw in the fridge before serving.
For extra crunch, replace half or all of the graham cracker crumbs with crushed pretzels. You can also swap semisweet chocolate chips for milk or dark chocolate to suit your taste, adjusting the salt in the base if you use salted pretzels.
This Indulgent No-Bake Chocolate Peanut Buster Bar is a testament to how a handful of simple ingredients can transform into a show-stopping dessert with no oven in sight. The crunchy peanut butter base, studded with roasted peanuts and bound by sweet crumbs, pairs flawlessly with a silky chocolate layer that sets with a satisfying snap. It’s easy enough for baking beginners, fast enough for last-minute celebrations, and decadent enough to earn applause every time. Feel free to print and save this recipe for future indulgences, and drop a comment or question below if you try it—or if you need a hand turning this dreamy, chocolatey peanut delight into your next fridge-fresh obsession!
A dreamy mash-up of smooth peanut butter and sweet cracker crumbs meets a silky chocolate top. No baking needed—just chill, slice, and enjoy every creamy, crunchy bite straight from the fridge.
Serving Size 16

Hey there! I’m Noah Blake, and welcome to RecipesDive.com — a blog for anyone who’s ready to dive headfirst into real cooking without the intimidation.