Nutrition Facts
Serving Size 8
- Amount Per Serving
- Calories 48kcal

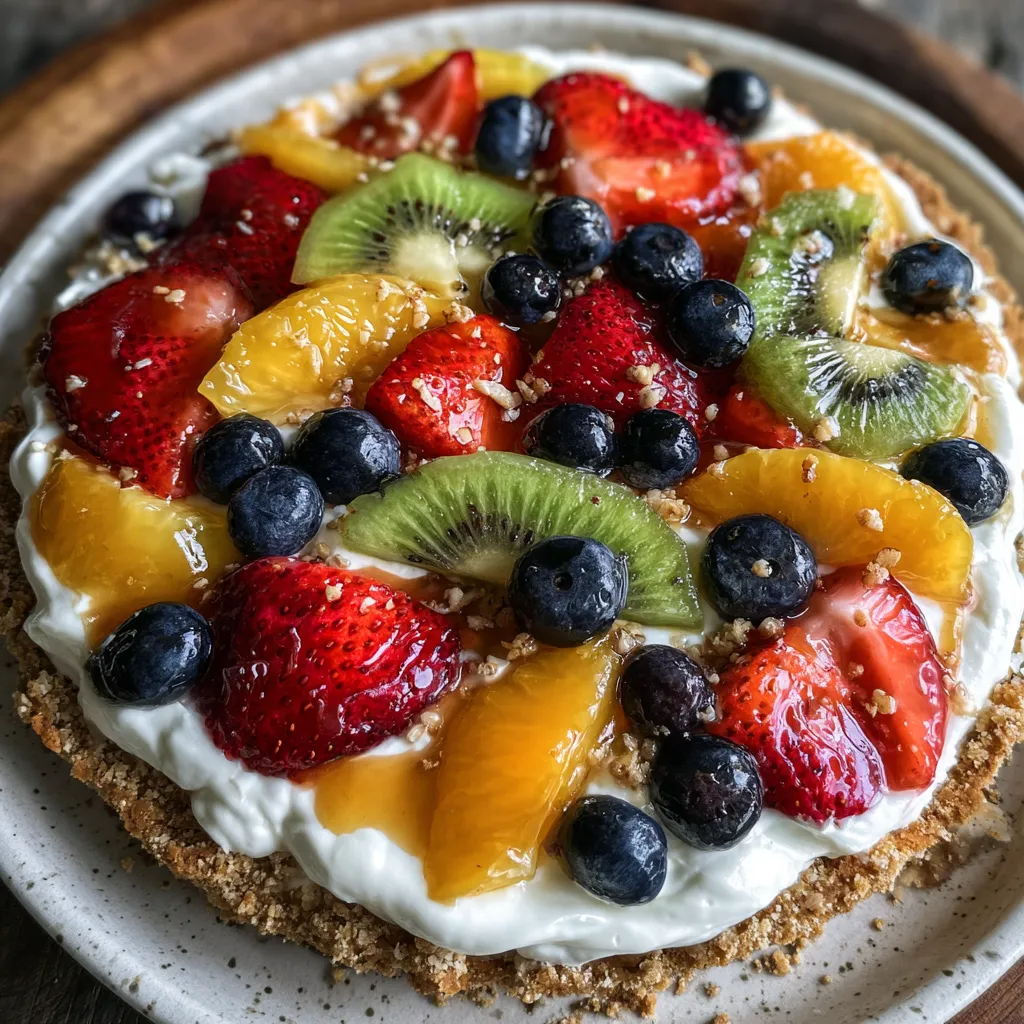
No-Bake Creamy Summer Fruit Pizza delivers a cool whipped cream cheese and honey filling atop a buttery graham crust, crowned with glazed strawberries, blueberries, kiwi, and peaches. Each bite bursts with creamy sweetness and bright summer flavor that’s perfect for backyard barbecues, pool parties, or a laid-back weekend treat. Dive in as we guide you through simple, no-bake steps, expert tips, and colorful serving ideas to help you master this easy dessert and impress friends and family!
Here’s a quick look at the main ingredients you’ll need for the crust, creamy filling, and vibrant fruit toppings.
We’re about to walk through the simple, no-bake steps to build your summer fruit pizza, from crafting a crisp graham crust to glazing fresh fruit. With easy-to-follow techniques and minimal ingredients, you’ll have a show-stopping dessert on the table in under two hours (mostly chill time!). Get ready to layer flavors and textures that celebrate the best of summertime produce.
1. In a medium bowl, combine the graham cracker crumbs, granulated sugar, and melted butter, stirring with a fork until the crumbs are evenly coated.
2. Press the crumb mixture firmly into the bottom of a pizza pan or springform pan, using the back of a measuring cup to pack it tightly, then chill in the refrigerator for 10 minutes.
3. In a large bowl, beat together the softened cream cheese, sour cream, honey, and vanilla extract on medium speed until the mixture is completely smooth and fluffy.
4. Spread the cream cheese filling evenly over the chilled crust using an offset spatula or the back of a spoon, creating a uniform layer.
5. Arrange the sliced strawberries, blueberries, kiwi, and peaches in decorative patterns on top of the cream layer to create an eye-catching design.
6. Brush the warmed apricot jam gently over the fruit with a pastry brush to add a glossy glaze and seal in freshness.
7. Return the assembled fruit pizza to the refrigerator and chill for at least 1 hour before slicing into wedges and serving.
Serving this fruit pizza is all about bright presentation and balancing textures. Whether you’re hosting a summer brunch, an afternoon tea, or a casual picnic, these ideas will help your dessert table shine. Make sure everything is well chilled before serving so the cream layer stays firm and inviting.
Getting this fruit pizza just right is all about prep and presentation. Start with room-temperature cream cheese for a super-smooth filling and pick fruits that are ripe but firm so they slice cleanly. If you’re feeling playful, swap in seasonal berries or tropical slices. Remember, a little extra glaze makes everything shine!
After enjoying your colorful fruit pizza, storing it properly will keep each slice tasting its best for days to come. A cool environment and airtight packaging prevent the crust from softening too much and preserve the filling’s smooth texture. Try one of these easy methods:
Here are answers to some common questions that pop up when making this fruity dessert:
Make sure the melted butter is fully incorporated into the graham cracker crumbs so each particle is coated evenly. When pressing the mixture into the pan, use the bottom of a flat glass or measuring cup to apply steady, even pressure. Chilling the crust for the full 10 minutes before adding the filling helps it set, reducing the chance of crumbling when slicing.
Yes. You can make the crust up to a day ahead by pressing and chilling it in the pan, then covering it tightly with plastic wrap. The cream cheese filling can also be mixed and stored in an airtight container in the refrigerator for up to 24 hours—just give it a quick stir before spreading it on the crust. It’s best to assemble with the fresh fruit and glaze on the day you plan to serve.
Maple syrup or agave nectar are excellent one-to-one replacements for honey, offering a slightly different but complementary sweetness profile. Because maple syrup and agave are more liquid than honey, you may want to reduce the sour cream by a tablespoon to maintain the filling’s consistency.
Gently pat the sliced fruit dry with a paper towel to remove excess moisture before arranging it on the cream cheese layer. Assemble the pizza close to serving time to minimize juice release. Chilling the assembled pizza for only the recommended hour helps the glaze set without letting the fruit sit long enough to leak juices.
Place the apricot jam in a small microwave-safe bowl and heat in 10-second intervals, stirring in between, until it becomes pourable but not boiling. Alternatively, warm it gently in a small saucepan over low heat, stirring constantly. Strain out any fruit solids if you prefer a smoother glaze before brushing it over the arranged fruit.
Cover the assembled fruit pizza loosely with plastic wrap or transfer individual slices to an airtight container. Store in the refrigerator for up to two days. Note that after the first day, the crust may soften slightly as the fruit continues to release juices, so enjoy it as soon as possible for the best texture.
This No-Bake Creamy Summer Fruit Pizza is a celebration of sunshine and simplicity—no oven required! With its buttery graham crust, velvety cream cheese layer, and a riot of glazed summer fruits, it’s like serving a slice of summer on a plate. It works because each component is easy to prepare, yet the result looks absolutely stunning. Feel free to print out this guide and tuck it into your recipe binder. I’d love to hear your feedback, variations, or any questions you have after trying it—drop a comment below and let’s keep the conversation going!
Cool whipped cream cheese and honey filling on a buttery graham crust meets juicy strawberries, blueberries, kiwi, and peaches, all brushed with apricot glaze. Each bite bursts with creamy sweetness and fresh summer flavor.
Serving Size 8

Hey there! I’m Noah Blake, and welcome to RecipesDive.com — a blog for anyone who’s ready to dive headfirst into real cooking without the intimidation.