Nutrition Facts
Serving Size 8
- Amount Per Serving
- Calories 100kcal

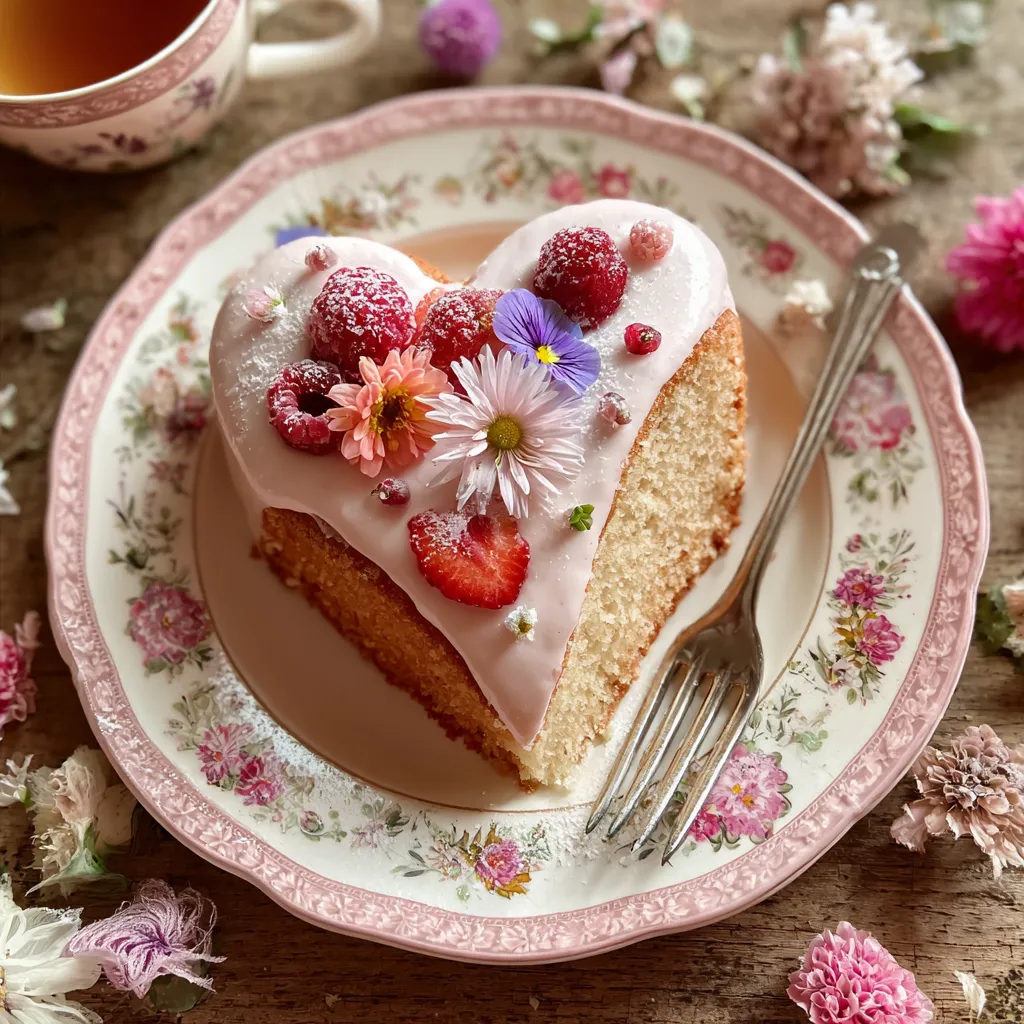
There’s something utterly enchanting about the Pink Romance Vintage Heart Shaped Cake, where fluffy pink sponge layers whisper sweet nothings to your taste buds. Whip up a romantic pink heart cake with fluffy layers and creamy whipped frosting, decorated with berries and edible blooms, and you’ve got a dessert that’s as beautiful as it is delicious. Whether you’re celebrating Valentine's Day, an anniversary, or simply treating yourself, this vintage-inspired cake delivers on both whimsy and flavor—perfect for sharing love one slice at a time.
Before diving into our baking adventure, let’s gather the essentials that make this cake a dreamy creation:
Ready to transform these lovely ingredients into a show-stopping dessert? Baking this cake is all about layering flavors, creating fluffy textures, and adding that signature rosy hue. Follow these steps carefully to achieve even layers, a vibrant pink crumb, and a luscious whipped frosting that practically melts in your mouth.
1. Preheat your oven to 350°F (175°C). Grease and flour two heart-shaped cake pans to ensure the cakes release cleanly.
2. In a large mixing bowl, cream the softened unsalted butter and granulated sugar together until light and fluffy, about 3–4 minutes.
3. Add the eggs, one at a time, beating well after each addition to maintain the airy texture, then stir in the vanilla extract.
4. In a separate bowl, whisk together the flour, baking powder, baking soda, and salt until evenly combined.
5. Gradually add the dry ingredients to the butter mixture, alternating with the buttermilk. Begin and end with the flour mixture, mixing until just combined.
6. Stir in the pink food coloring until you achieve a vibrant pink color, making sure the hue is evenly distributed throughout the batter.
7. Divide the batter evenly between the prepared heart-shaped cake pans, smoothing the tops for even baking.
8. Bake in the preheated oven for 25–30 minutes, or until a toothpick inserted into the center comes out clean.
9. Once baked, remove the cakes from the oven and let them cool in the pans for about 10 minutes, then transfer them gently to a wire rack to cool completely.
10. While the cakes are cooling, prepare the whipped frosting. In a chilled mixing bowl, combine the heavy whipping cream, powdered sugar, and vanilla extract.
11. Whip the cream on medium-high speed until stiff peaks form, being careful not to over-whip and cause graininess.
12. When the layers are completely cooled, place one layer on a serving plate and spread a generous amount of the whipped frosting on top.
13. Carefully place the second cake layer on top, then frost the top and sides of the cake with the remaining whipped cream for a smooth finish.
14. Decorate with fresh berries and edible flowers for a romantic and elegant final touch.
Once your Pink Romance Vintage Heart Shaped Cake shines in all its rosy glory, it’s time to serve it in style. Whether you’re hosting an intimate gathering or simply delighting in a sweet moment alone, here are four lovely ways to enjoy each slice:
Every baker has a few secret tips up their sleeve: here are mine for nailing this romantic cake every time! Keep these friendly pointers in mind as you mix, bake, and frost to guarantee a picture-perfect result that will have everyone swooning.
You’ve baked, you’ve frosted, you’ve admired—it’s time to keep your Pink Romance cake fresh and fabulous until every crumb is gone. Proper storage maintains that cloudlike frosting and pillowy sponge so each slice tastes just as dreamy as day one.
Here are quick answers to the most common questions about making your heart cake extra special:
A: It takes about twenty minutes to mix the ingredients, twenty-five to thirty minutes to bake, ten minutes to cool in the pans, thirty to forty-five minutes for the layers to cool completely on a wire rack, and about ten to fifteen minutes to whip and apply the frosting and decorate, for a total of roughly two hours.
A: Yes, you can stir one tablespoon of white vinegar or lemon juice into a measuring cup and add enough milk to reach one cup. Let it sit for about five minutes until it slightly curdles, then use it as a stand-in for buttermilk.
A: Choose a concentrated gel or paste food coloring rather than a liquid version to avoid adding extra moisture. Add the coloring gradually and mix just until the hue is evenly distributed. Adjust the amount for a lighter or deeper shade based on your preference.
A: Chill the mixing bowl and beaters in the freezer for about ten minutes before whipping. Make sure the heavy cream is well chilled as well. Whip on medium to high speed and stop as soon as stiff peaks form, watching carefully to avoid overwhipping.
A: Keep the assembled cake in an airtight container or loosely covered with plastic wrap in the refrigerator. Because it contains whipped cream frosting, consume it within two days for the best taste and texture.
A: You can bake the cake layers one day in advance and wrap them tightly in plastic wrap once they have cooled completely. Store the wrapped layers at room temperature and assemble with the frosting just before serving.
This Pink Romance Vintage Heart Shaped Cake works its magic through a blend of fluffy, tangy-buttermilk layers and cloudlike whipped cream frosting that feels like a love letter on your plate. The blush-hued crumb and fresh berry accents bring that vintage charm back to life, whether you’re swooning over memories or making new ones. Feel free to print this article, stash it in your recipe binder, and leave a comment below if you give it a whirl or have any questions—your kitchen romance awaits!
Fluffy pink sponge layers caress your palate, each blush-hued bite complemented by cloudlike whipped cream frosting. Tangy berries and delicate edible flowers add bursts of sweetness and a fragrant finish to every slice.
Serving Size 8

Hey there! I’m Noah Blake, and welcome to RecipesDive.com — a blog for anyone who’s ready to dive headfirst into real cooking without the intimidation.