Nutrition Facts
Serving Size 8
- Amount Per Serving
- Calories 39kcal

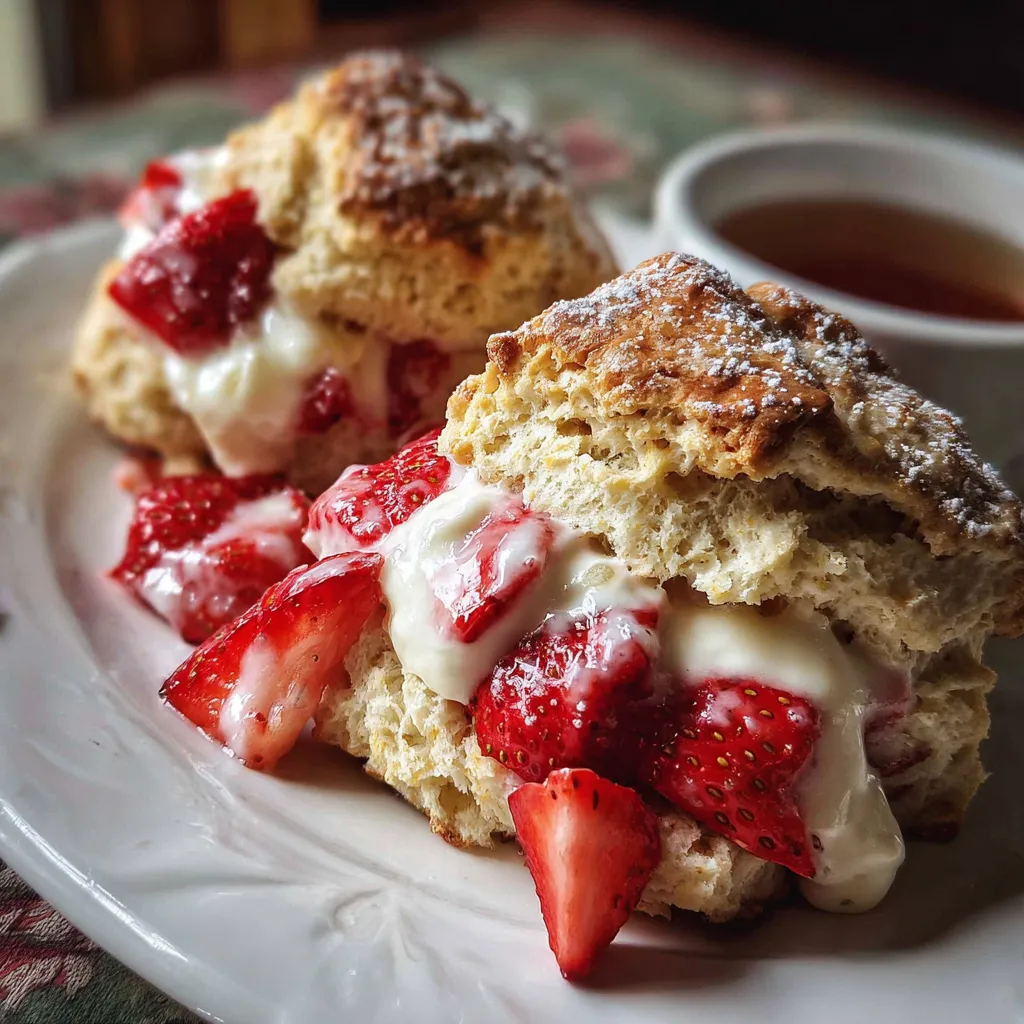
Savor the delight of homemade Strawberries and Cream Scones: fluffy scones studded with sweet strawberries and drizzled in creamy vanilla-rich goodness, perfect for a sunny morning treat. Crisp golden edges give way to tender, strawberry-speckled centers that melt in your mouth with every bite. If you’re craving a simple yet show-stopping breakfast pastry, you’re in the right place—grab your apron and let’s bake!
Before we dive into mixing and baking, let’s take a look at the simple ingredients that make these scones irresistible:
Baking these scones is a straightforward process that brings together dry ingredients, cold butter, creamy wet ingredients, and fresh strawberries in just a few simple steps. You’ll whisk, fold, and shape your way to perfectly golden pastries that are tender on the inside and crisp at the edges.
1. Preheat your oven to 400°F and line a baking sheet with parchment paper to prevent sticking.
2. In a large bowl, whisk together the flour, sugar, baking powder, and salt until evenly combined.
3. Cut the cold butter into small pieces and toss into the flour mixture with your fingertips until it resembles coarse crumbs.
4. In a separate bowl, whisk together the heavy cream, egg, and vanilla extract until smooth.
5. Pour the wet ingredients into the dry ingredients and gently fold with a spatula until just combined, taking care not to overmix.
6. Add the diced strawberries and lightly fold to distribute them evenly without breaking them down.
7. Turn the dough onto a lightly floured surface and pat into a 1-inch thick round, using a gentle touch.
8. Cut the round into eight wedges and place them on the prepared baking sheet, spacing them evenly.
9. Brush the tops with a little extra heavy cream and sprinkle with coarse sugar for a sweet, crunchy finish.
10. Bake for 15 to 18 minutes until golden brown and a toothpick inserted into a center comes out clean.
11. Let the scones cool on the baking sheet for a few minutes before serving warm.
These scones shine best when served warm and accompanied by your favorite morning beverages. Here are four delightful ways to enjoy them:
Getting these scones just right is all about technique and timing. Keep your butter ice-cold, handle the dough as little as possible, and you’ll end up with light, flaky layers every time. Feel free to experiment with different mix-ins and store leftovers thoughtfully for later indulgence.
Whether you bake a double batch or just want to save extras for tomorrow, proper storage keeps your scones fresh and flavorful:
Here are answers to some common questions about these scones:
A: The total time is about 30 to 35 minutes. Preparation takes roughly 15 to 20 minutes, including measuring ingredients, cutting cold butter, mixing the dough, and shaping the scones. Baking requires an additional 15 to 18 minutes at 400°F until the scones are golden brown and a toothpick inserted comes out clean.
A: Very cold butter creates steam as it melts in the oven, producing light, flaky layers. To keep it cold, cut the butter into small pieces and return it to the fridge until you’re ready to toss it into the flour mixture. Work quickly with chilled utensils and, if your kitchen is warm, you can even chill the flour mixture briefly in the refrigerator before incorporating the wet ingredients.
A: Yes. If using frozen strawberries, thaw them, drain off excess liquid, and pat them dry before dicing to prevent the dough from becoming soggy. You can also stir in raspberries, blueberries, or chopped nuts like almonds or pecans for variation, following the same folding technique to avoid overmixing.
A: Lightly dust your work surface and hands with flour rather than adding it directly to the dough. Pat the dough gently into a roughly 1-inch thick round, folding it over itself no more than a couple of times to build layers. If the dough is extremely sticky, chill it in the refrigerator for 10 to 15 minutes before shaping.
A: The scones should be a light golden brown on top and around the edges. Insert a toothpick into the center of the thickest scone; it should come out clean or with a few moist crumbs but no wet batter. They will also sound slightly hollow when tapped on the bottom.
A: Store leftover scones in an airtight container at room temperature for up to two days. To reheat, wrap each scone in a slightly damp paper towel and microwave on medium power for about 10 to 15 seconds, or warm in a 300°F oven for 5 to 7 minutes until heated through.
A: Yes. After shaping the wedges on the baking sheet, cover them tightly with plastic wrap and refrigerate for up to 24 hours. When ready to bake, preheat the oven to 400°F, uncover the scones, brush with cream, sprinkle with coarse sugar, then bake for the full 15 to 18 minutes, adding a couple of minutes if baking straight from the cold.
What makes these Strawberries and Cream Scones truly stand out is the perfect balance of buttery, flaky pastry and juicy bursts of fresh berries, all kissed by a hint of vanilla cream. They’re simple enough for a beginner baker yet impressive on any breakfast table. Feel free to print this recipe and stash it in your favorite binder—your future self will thank you on busy mornings. Have questions, feedback, or a tasty tweak to share? Drop a comment below and let’s keep the baking conversation going!
Flaky, buttery rounds bursting with juicy berries and kissed by rich vanilla cream. Crisp golden edges give way to tender, strawberry-speckled centers that melt in your mouth with every warm, comforting bite.
Serving Size 8

Hey there! I’m Noah Blake, and welcome to RecipesDive.com — a blog for anyone who’s ready to dive headfirst into real cooking without the intimidation.